Beauty trend: wispy, feathery brows over the bold stamp.
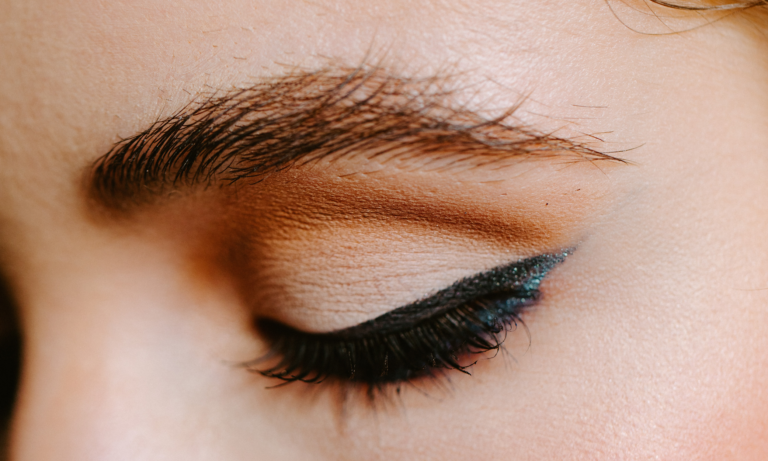
Seen on the runways, beauty pages of fashion magazines and no doubt all over your Instagram feed, the statement brow is going nowhere in 2021. But instead of the perfectly laminated brush up brows we saw last year, this time the bushy, full brow is a little more undone.
We’ve all got that one brow that behaves itself and the other that seems to have a mind of its own, no matter how hard we try. Well, that eyebrow mismatch is no longer an issue with ‘messy’ brows continuing to gain popularity this year. This move to a fluffy, wispy and softer look as opposed to a big old bold stamp brow falls in line with an overall shift we’ve seen in current beauty trends that focuses on subtle tweaks to enhance what your Mama gave you. Think glowy moisturised skin, a pop of pink on the cheek bones, fluttery eye-opening lashes (well, you know where to find those) and brows that remain full but look more natural.
So, if you’re over those perfectly shaped arches and want less maintenance in your brow routine – this trend’s for you. Here’s our step by step guide on how to nail that feathered, undone look with our Dybrow permanent tint kit that’ll stay in place for weeks. Yep, one lot of effort for six weeks of statement eyebrows, all achieved in the comfort of your home (fluffy dressing gown and slippers optional).

1. The Prep Work.
Before you get into it, read the instructions carefully and do a patch test 48-72 hours prior to ensure no irritation or rash occurs. We currently have two shade options: a Dark Brown and a Black eyebrow tint. Avoid plucking your brows prior to application as this can lead to irritation and itchiness, which we definitely don’t need in our lives.
Although we’re going for a messy look, tint going all over your forehead is not what we’re after. Grab some Vaseline and apply on the skin around the eyebrow area to keep the tint exactly where you want it.
2. Tint and thicken.
Now it’s time to thicken. How heavy you go depends on your own personal brow-goals, but we’d recommend going light initially and then building up the layers of brow tint. Mix up the colourant and activating solution based on the instructions and dip the end of the spoolie into the tint.
Comb the spoolie upwards through your brows in short, feather-like strokes to lift and create more volume. Brush along your eyebrow’s natural arch and ensure no hair is left untinted. For a fuller look we recommend using a small eyebrow/ eyeshadow brush in between where hair is sparse.
Wait 10-15 minutes for the tint to work its magic. Dampen a reusable makeup pad with water and wipe off any excess product.
3. Brush and sculpt.
Using the spoolie end, brush through the brows in an upward motion, but chop and change the angle, as remember it’s not about perfectly sculpted brows here. We’re aiming for a striking but also ‘I woke up like this’ style. Inconsistency is key.
There you have it, a full and defined brow that looks both bold and natural with little maintenance for six weeks. You may want to brush the spoolie through the hairs in the morning to zhuzh them up and keep them messy depending on your desired look.
HOT TIP: If you’re an eyeshadow enthusiast, brushing up and tinting your brows will add both definition to your face and open up your eye area allowing those shadow tones to gain the attention they deserve.
Keen to revive your brow game and try this trend yourself? Pick up our vegan and cruelty free Dybrow tint in Dark Brown or Black from Priceline, Woolworths, Big W or Amazon Australia and get experimenting. Don’t forget to tag us @EylureAus and use the hashtag #EylureAus on Instagram so we can check out your bold and beautiful brow looks.